

Photographer

Before After Post Ideas for Photographers to Book More Clients

Struggling to justify your photography prices? Use these before after post ideas for photographers to show your value, prove your editing skill, and book clients.

4 min read Updated Jun 29, 2026 Used by 1,000+ businesses
Before After Post Ideas for Photographers to Book More Clients
BrandZillaBrandZilla EditorialReviewed by marketing operators

Most photographers hide their raw files like they’re a dirty secret. But in a world where everyone has an iPhone and a filter, showing your actual labor is the fastest way to justify your pricing. Your clients don't just pay for the click of a shutter; they pay for the vision it takes to turn a "meh" gray sky into a cinematic sunset or a cluttered living room into a magazine-ready interior.

Sharing your process isn't about exposing your flaws; it’s about highlighting your expertise. When a lead sees a "Before and After," they stop comparing your hourly rate to the "guy with a camera" down the street. They start seeing the technical mastery required to handle difficult lighting, distracting backgrounds, and skin tones.

Reality check: If you only post the 'perfect' final shot, clients think the camera did the work. If you show the 'before,' they realize YOU did the work.

Quick tips

1

Narrate the struggle.

Don't just post the photo; explain that it was 12:00 PM and the sun was brutal, but you knew exactly how to handle it.

2

Use Reels for transitions.

Carousels are great, but a 5-second Reel with a 'swipe' transition often gets wider reach in the Instagram algorithm.

3

Focus on 'Polishing.'

Always mention that your 'After' is a 'polished' version, not a 'fake' version, to keep the trust of portrait clients.

4

Create a dialogue.

Ask 'Can you believe this was the same day?' or 'Which edit do you prefer: 1 or 2?' to get people talking.

Stay consistent without hiring a social media manager

A simple weekly content system that keeps your business visible and trusted online — no daily improvisation.

No spam. Unsubscribe anytime.

Mastering the Light: Transformation Ideas

Lighting is the hardest thing for amateurs to master. Showing how you 'fixed' a dark room or 'saved' a shot during a rainy wedding proves you are a pro who can handle any situation.

What actually works: Use the 'Before and After' slider tool in a Reel to show a gradual transition from a flat RAW file to a vibrant, polished image.

  • The 'Saved the Day' Shot: Show a photo taken in a dark reception hall versus the bright, airy final version.
  • The Blue Sky Swap: For real estate or landscapes, show a gray, overcast day transformed into a sunny afternoon.
  • The Golden Hour Manual: Show a RAW shot that looks 'orange' and flat vs. the glowy, cinematic final edit.
  • The Flash vs No Flash: Take a shot with natural light (dark) and one with your professional lighting setup (perfect).
  • The Harsh Noon Sun: Show how you softened deep shadows on a client's face using your editing workflow.
Example 1

Carousels showing 'OOC' (Out of Camera) vs Final.

Example 2

Screen recording of your Lightroom sliders moving.

Example 3

Side-by-side 'Split screen' still images.

Example 4

Reel with a 'Wait for the glow up' transition.

Example 5

Stories with 'Tap to edit' engagement stickers.

The 'Cleanup' Edit: Distraction vs. Direction

Sometimes the world isn't perfect. Your job is to curate it. Showing how you remove distractions helps the client trust you to make them look their best.

Quick win: Next time you edit out a trash can or a stray hair, take a screenshot of the 'before'—that's your next Instagram post.

  • The 'Photobomb' Removal: Show a beautiful portrait where you edited out people in the background at a busy park.
  • The Clean Home: For interiors, show the 'Before' with power cords and clutter vs. the 'After' magazine-style shot.
  • The Wardrobe Fix: Show how you removed a distracting bra strap or a stain on a shirt that the client was worried about.
  • The Skin Story: A zoomed-in (respectful) shot of temporary acne removal—emphasize that you keep the 'real' them, just more polished.
  • The 'Nesting' Edit: For newborns, show the 'Before' with the parent's hands holding the baby vs. the 'After' where the baby looks like they are floating.
Example 1

Close-up crops showing detail work.

Example 2

A 'spot the difference' caption to boost comments.

Example 3

Time-lapse of 'Healing' brush usage in Photoshop.

Example 4

Before/After of a messy studio floor turned into a clean backdrop.

Example 5

Removing a 'fire exit' sign from a luxury wedding venue shot.

Stylistic Transformations: Selling Your 'Look'

Your 'style' is your brand. These types of posts help prospective clients understand the vibe they are buying into.

Local business example: A local wedding photographer showed a 'Before' of a park in their city that looked 'average' vs their 'After' which looked like a fairytale. It went viral locally because people recognized the spot!

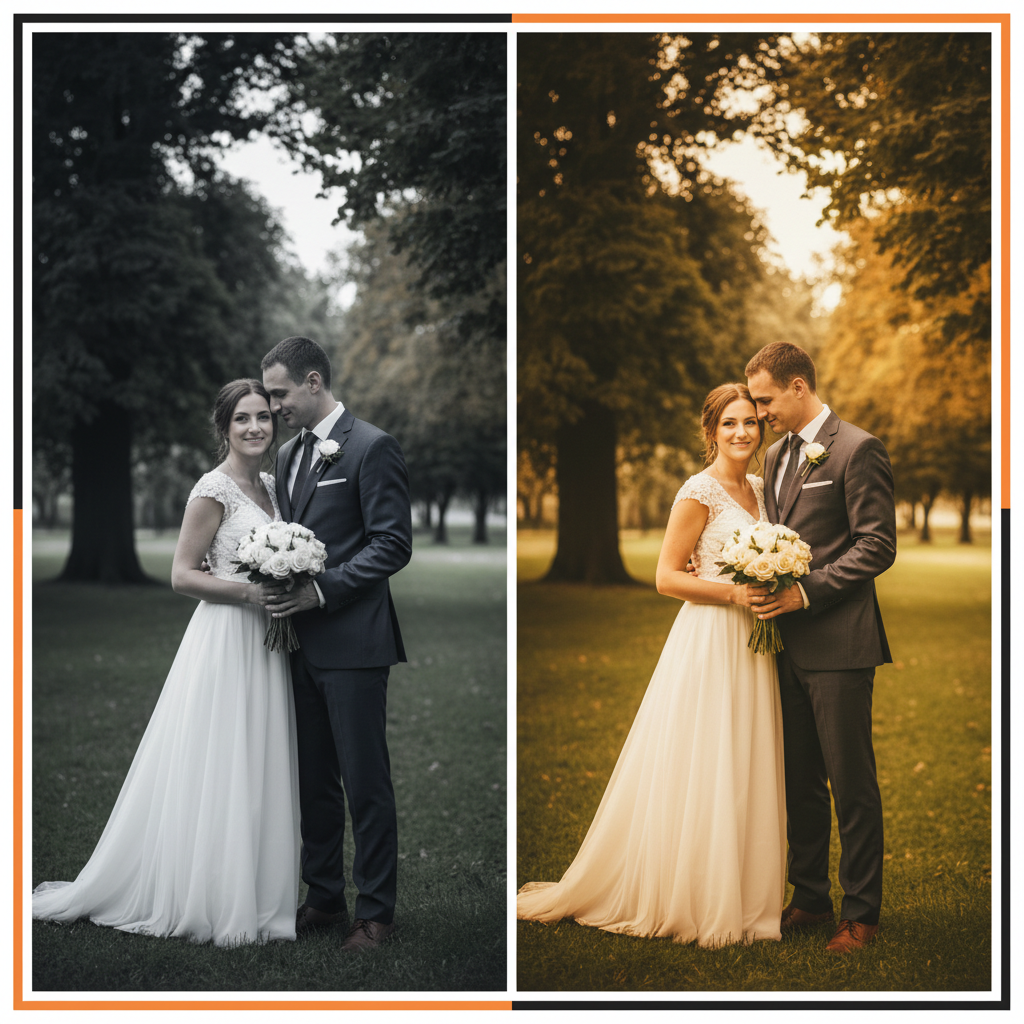
  • The Moody Vibe: Show a bright, flat 'Before' vs a dark, cinematic, moody 'After.'
  • The True-to-Life Color: Show a 'Before' with weird green skin tones (typical of RAW) vs your perfect, creamy skin-tone edit.
  • The Vintage Film Look: Show a digital RAW vs the grain and warmth of your film-inspired final edit.
  • The Black and White Choice: Show why you chose to turn a busy color photo into a timeless B&W.
  • The Seasonal Shift: Show a summer photo where you shifted the greens to look like deep, rich autumn colors.
Example 1

Color palette breakdown alongside the photo.

Example 2

Comparing a 'Standard' preset to your custom 'Signature' look.

Example 3

Explaining the 'Mood' you were going for in the caption.

Example 4

A 'Choose your favorite' post comparing two different edit styles.

Example 5

Sharing the 'History' of your editing style over 5 years.

Copy-paste AI prompt pack

Drop these straight into your post — or generate fresh ones with BrandZilla.

Captions

  • The camera sees the data; I see the memory. Here is how I brought the warmth back to [Client Name]'s session. Swipe to see the RAW file! #PhotographyProcess
  • POV: It was raining, the lighting was flat, and we had 10 minutes. This is why you hire a pro. Transformation in the slides. #EditTransformation
  • Retouching isn't about changing who you are; it's about removing the distractions so your glow can shine through. Check the before/after!

Hooks

  • Stop scrolling and look at what a RAW file actually looks like.
  • Why I spent 4 hours editing this one single wedding photo.
  • You won't believe the 'Before' of this sunset shot.
  • Proof that the gear doesn't matter as much as the eye.

Hashtags

#photographybusiness#editingtransformation#beforeandafterphoto#photographytips#lightroomedit#rawvsfinal#photographybackstage#creativeprocess#photoshopmagic#smallbusinessmarketing

Questions business owners actually ask

Real objections from real operators — answered straight.

BrandZillaBrandZilla EditorialReviewed by marketing operators

Free tools to keep you consistent

Quick utilities for the moments between full posts.

Most businesses stop posting after 2 weeks

BrandZilla gives small businesses a simple weekly content system — so you stay visible, build trust, and get more enquiries without hiring a social media manager.

More for Photographer

Same topic, other industries

From the blog