
You have a local event—an open house, a tasting, a workshop, or a weekend sale—and you need people to show up. You made a Facebook event and shared it once. The RSVPs trickled in and then nothing. Now you’re wondering: is Facebook worth the time if I’m not boosting posts?
Short answer: yes—if you treat Facebook like a distribution channel, not a place to shout once and hope. Organic Facebook still works for local events when you build a repeatable system that combines the event page, owned assets (page, email, SMS), local partners, and simple in-person prompts.
This guide gives you a step-by-step playbook with copy-paste templates, a posting cadence, and a day-of checklist to turn Facebook RSVPs into real feet through the door—without relying on paid ads.
The 5-step framework (what to do, in order)
- Create a clean event page that converts
-
Event title formats that work: “Coffee Tasting: Free Sampler + Q&A — Sat 10am” or “Intro Pottery Class — Limited (10 spots) — Thu 6pm.” Keep the most important detail first (what it is) and a hook second.
-
Use a single, clear CTA in the first line: “RSVP to reserve your free spot → [link]”. If you use a ticketing link, make sure it’s the top link and appears in the first paragraph.
-
Cover image: 1200 x 628 px. Use a real photo of the space or product with an overlayed short line (up to 6 words) like “Free Tasting — Sat 10am.”
-
Description template (paste and edit):
Welcome line (1 sentence).
What to expect (3 bullets): sample, time, exact location details.
Who it’s for (1 line): “Good for [audience] who want [benefit].”
How to join (CTA + link).
Limited spots note or special offer.
- Seed your event in the 10 days before it
- Day -10: Publish the event and pin a post to your Page announcing it.
- Day -7: Post a short behind-the-scenes photo or video showing preparation. Invite people to RSVP in the caption.
- Day -5: Ask staff or a partner to co-host or share (see co-hosting below).
- Day -3: Post a customer testimonial or past event photo highlighting the benefit.
- Day -1: Reminder post with logistics and “last chance to RSVP.”
- Amplify with local partners and owned channels
- Add 3–5 local co-hosts: vendors, community groups, complementary shops. Co-hosts share the event to their audiences and Facebook shows the co-host list on the event page.
- Post the event in 2 relevant local Facebook Groups (not spammy — pick groups that allow events). Use group-specific copy: shorter, location-focused.
- Cross-post to Instagram feed/stories and your email list. The same day you publish the event, send a short email with the event link and a single benefit.
Reality check: Most small businesses post 3x then quit. Consistency beats creativity 9 times out of 10.
- Turn customers and walk-ins into invites
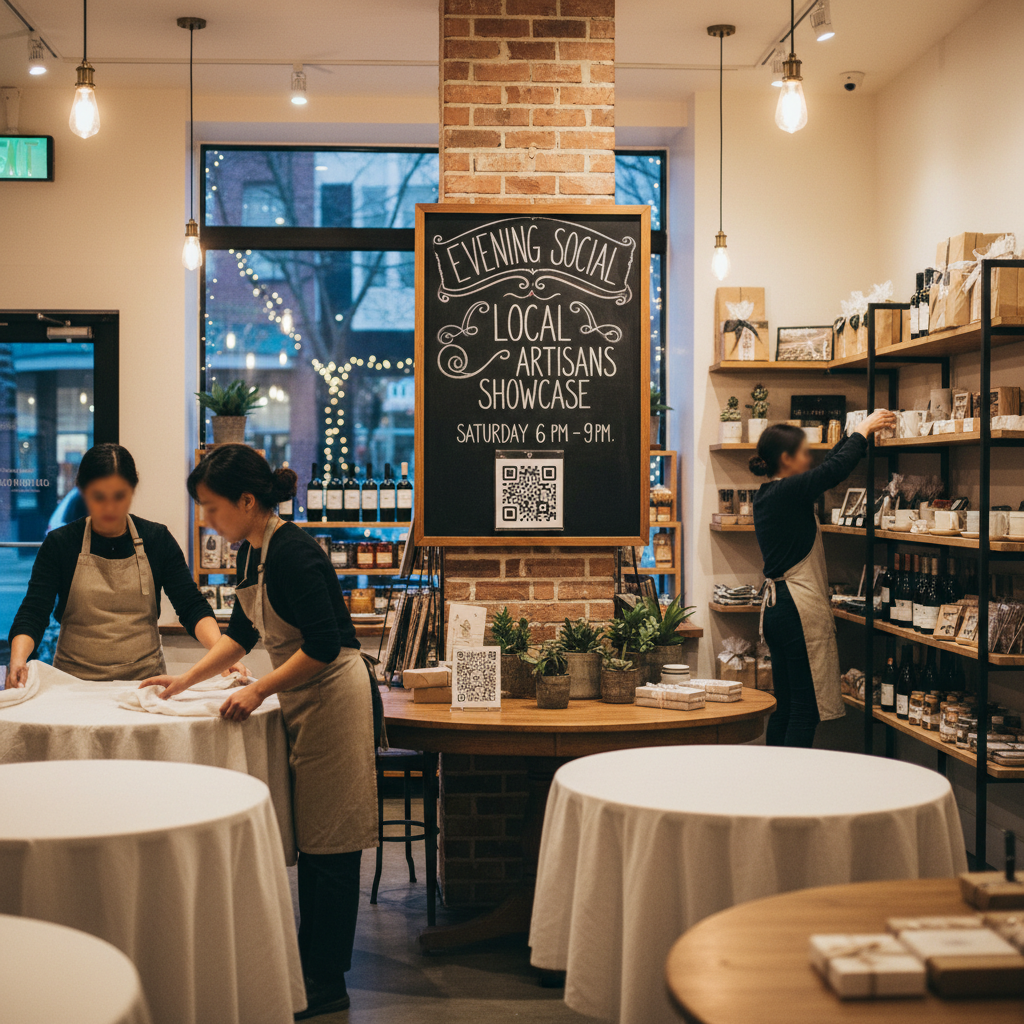
- In-store: print a counter card with a QR code to the event page. Train staff to say a 7-word invite: “We’re doing a free tasting Saturday—want to RSVP now?”
- SMS: Send a one-line reminder to recent customers with the RSVP link and an incentive (first 10 get a free sample).
- Ask existing RSVPs to bring a friend: change one line in the event page to “Bring a friend and both get a 10% voucher.”
- Post the week-of and day-of the event
- Use the exact posting cadence below (templates included).
- Schedule 3 short Stories/Reels-style clips the final 48 hours showing setup, staff, and a peek at the offer.
- Live check-in: 30 minutes before start, go live for 3–5 minutes showing the space and welcome message.
Quick win: Repurpose one customer review into a 3-post mini series this week.
Exact copy templates (copy-paste and edit)
Event title examples (pick one):
- “Neighborhood Pizza Night — Free Slice Tasting — Sat 6pm”
- “Beginner Watercolor Workshop — 2 Hours — Sat 11am (6 spots)”
- “Holiday Open House — Hot Cocoa + 10% Off — Dec 16, 4–7pm”
Event description (paste and tweak):
[One-line welcome]. Join us for [what happens] on [date/time] at [location].
What you’ll get:
- [Benefit 1]
- [Benefit 2]
- [Logistics: parking, age limits]
Perfect for [audience].
RSVP now to reserve your spot → [link]. Limited seats.
Short announcement post (publish when you create the event):
We’re hosting [event name] on [date]. Free/limited spots. RSVP → [link].
3 reminder posts (schedule):
- 7 days out: “1 week until [event]. We’ll be [what]; bring friends. RSVP → [link]”
- 48 hours out: “We’re setting up! Here’s a peek at [item]. Last chance to RSVP → [link]”
- Day-of morning: “Today! Doors open at [time]. RSVP now and we’ll save your spot → [link]”
Live welcome script (30–60 seconds):
“Hey everyone — we’re live from [business name]. Today is [event]. If you’re nearby, pop in now; if you RSVP’d, come to the front desk and say your name. We’ve got [hook].”
Common mistake: Treating Instagram captions like tweets — context outperforms one-liners for local businesses.